Art Recipe: Acrylic Pour
Art is a great way to distract yourself from the pain. It also is a great way to document your Hidradenitis Suppurativa journey. Your style of art might change whether you’re happy, sad, in pain, mad at your doctor, etc.. You can make a piece of art and have it express how you’re feeling! Sometimes it’s a lot easier for me to get my feelings out when I don’t have to use words.
To get my feelings out, I love using paint and one of my favorite types of pieces to make is called an Acrylic Pour. It’s super easy and super fun and you’ll have a different result every single time! You can do it sitting down if you’re suffering from groin flares, and it takes minimal arm movement if you have armpit flares. You can also find all the materials you need right on Amazon or Michael’s website so you don’t even have to leave the house if you’re not feeling up to it!
What you’ll need
- Acrylic paint colors
- Floetrol
- Plastic paint mixing cups (you’ll need one cup for every paint color you want to use)
- Wooden paint mixing sticks
- 1 larger disposable plastic cup
- 1 disposable metal tray
- 1 canvas
- Disposable gloves
How to make your acrylic pour
- Mix 1 part Floetrol with 1 part acrylic paint. Do this for every individual paint color you wish to use. If you want a runnier consistency of paint, add a little more Floetrol and a few drops of water. Every artist has a different preference so do what you like best! There's no wrong way to "Art!"
- Mix each paint cup with your wooden mixing sticks until the paint and Floetrol are smooth and combined.
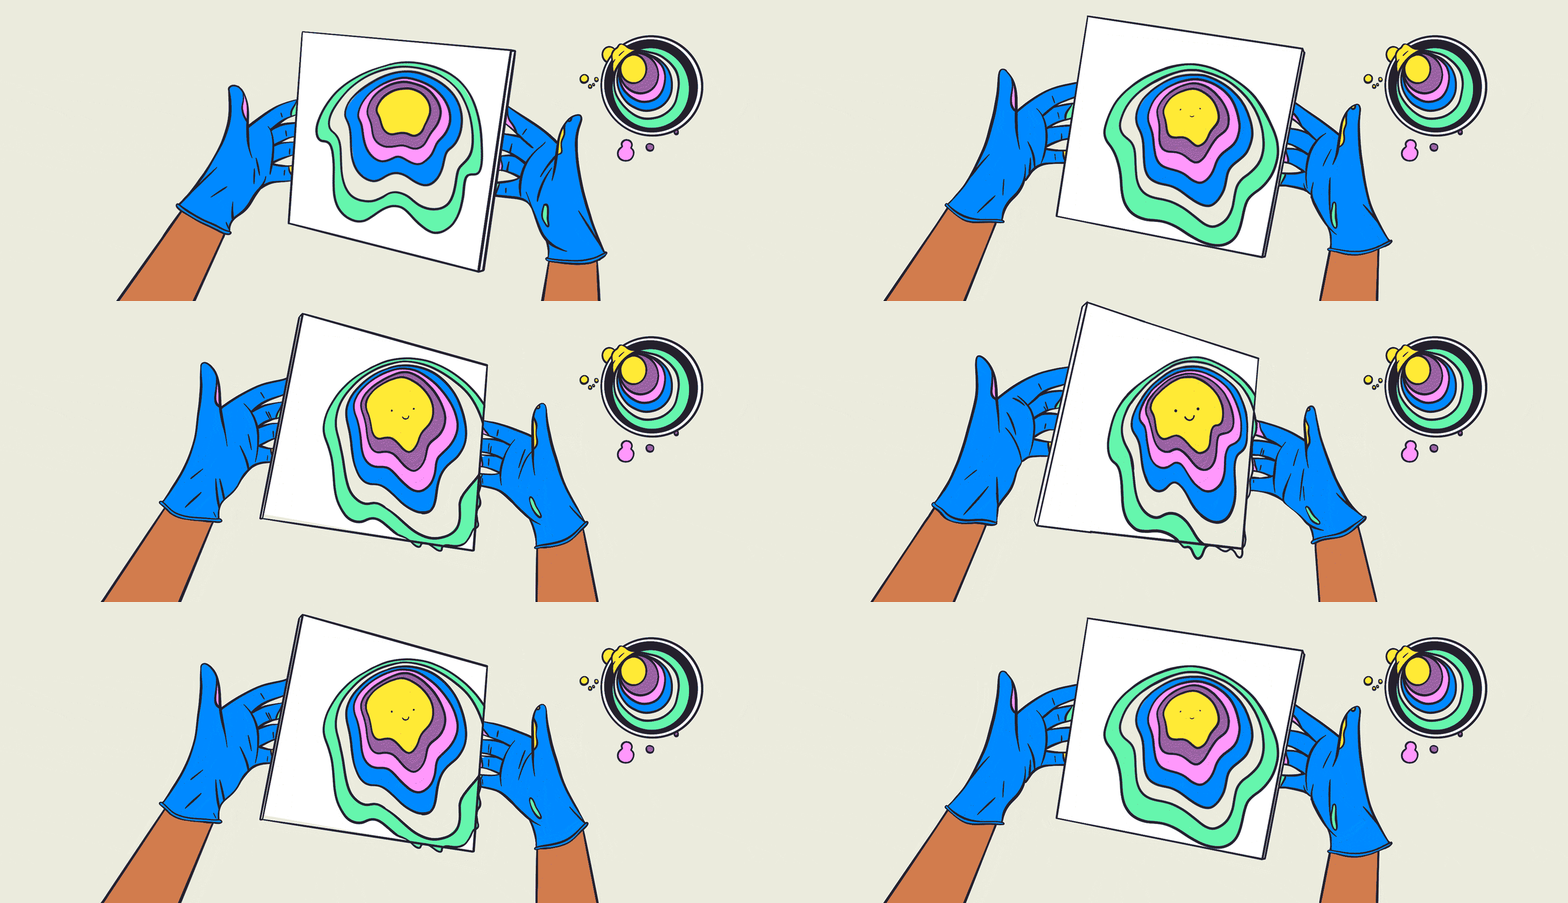
- Now take your larger disposable plastic cup and pour your paints in any order and pattern. Angle your disposable cup so the paint runs down the side to the bottom of the cup and keep layering the colors.
- Place your canvas in your metal tin and pour your paint-filled large disposable cup on your canvas. Move the canvas around to slide the paint all over and create effects. Let the paint pour off the sides of the canvas and get trapped in the bottom of the metal tin. You can also use a blow dryer to alter the design and make bubbles.
- When you’re satisfied with your design, let it dry completely for 24-48 hours.
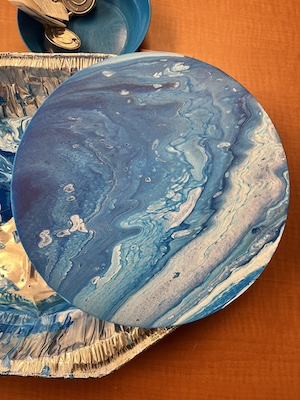
Here is mine after 24 hours:

Join the conversation